

How to use Word Import for monday.com
Word Import turns Word files (.docx) into monday docs. You can start an import from your workspace, from inside a doc or from a board.
Before your first import
The first time you import, Word Import asks for your permission to create docs for you. Click Give permission (or Allow and import) and accept in the window that opens. You only do this once.
If your account installed an earlier version of Word Import, monday shows a bar saying the app needs additional permissions. An admin approves them once for the whole account: click the bar, and on the Word Import page in the monday marketplace click Install. Despite the name, this doesn't install a second copy or remove anything: your docs and imports stay as they are. It just approves the new permissions, and the bar goes away after a refresh. Until an admin does this, everyone else keeps seeing the bar.
Guests and viewers can't import files, as importing creates docs.
Import into a new doc
- In your workspace's left pane, under Workspace apps, click Word Import. This opens the Word import jobs page.
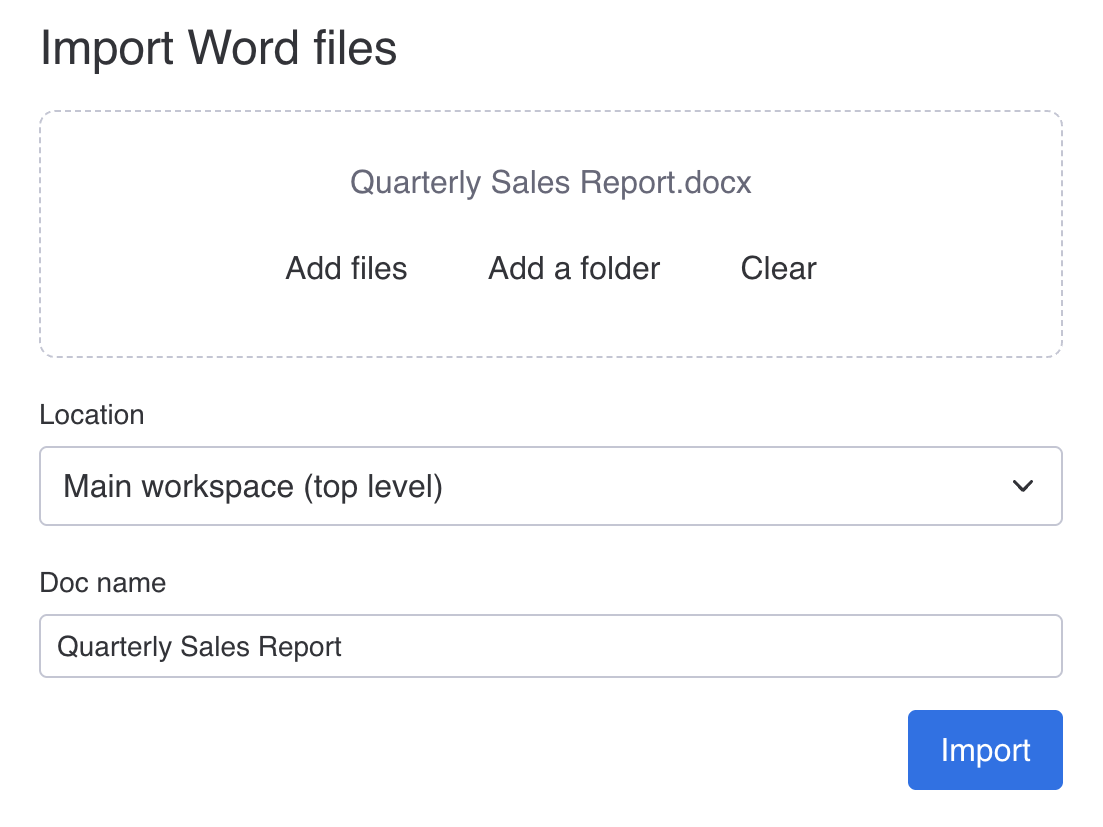
- Click Import Word files.
- Drop a Word file on the page, or click Choose files.
- Under Location, choose where the doc goes: the workspace's top level or one of its folders.
- The Doc name is the Word file's name; change it if you like.
- Click Import.
You'll see the import's progress, and monday sends you a notification when the doc is ready.
Import many files at once
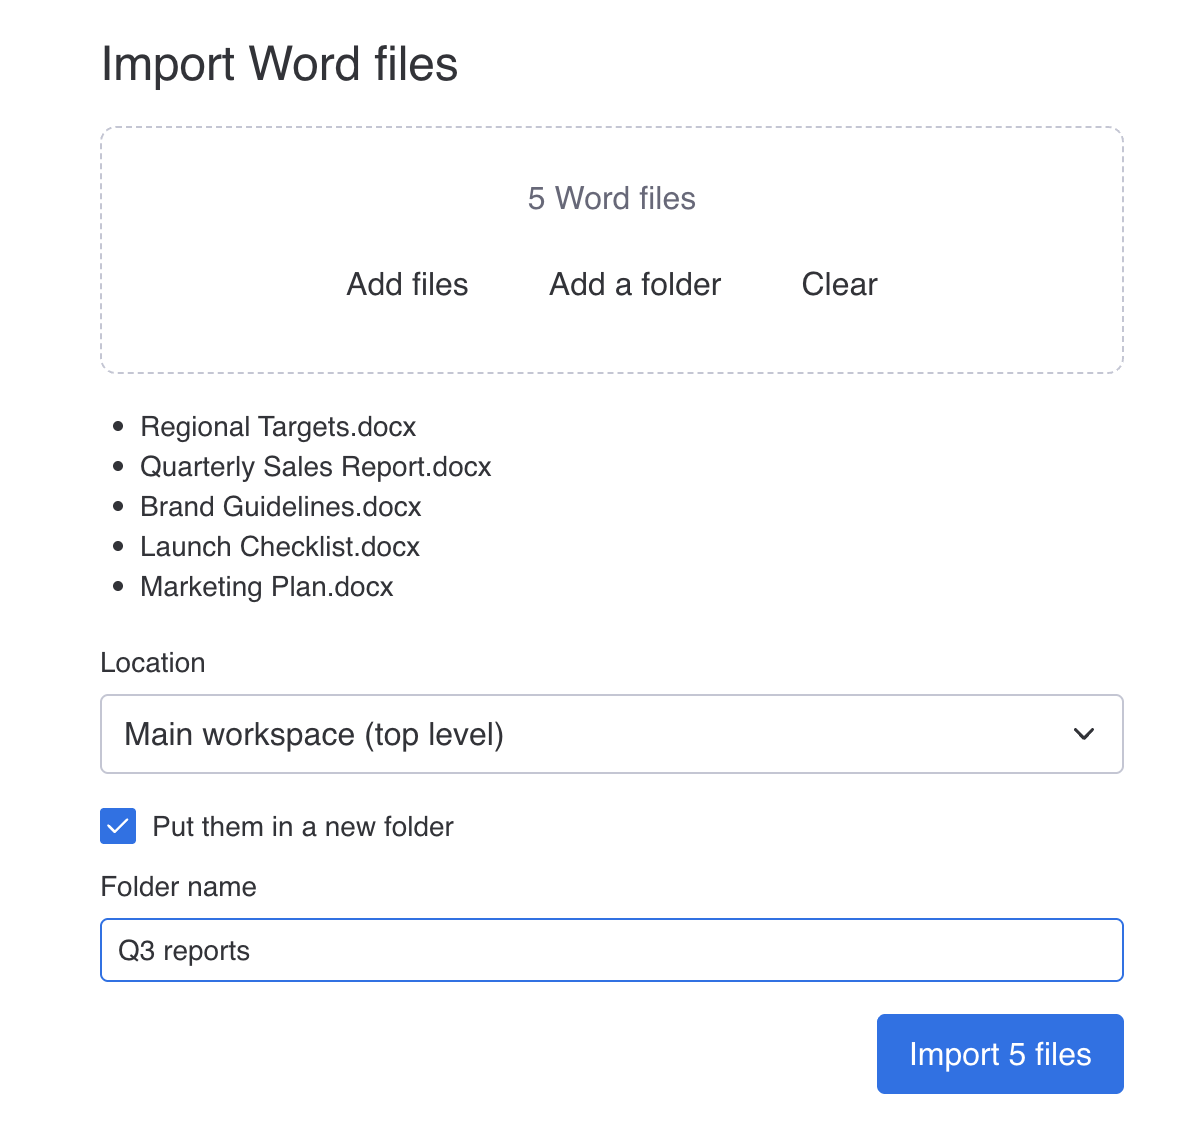
- Open Word Import under Workspace apps, and click Import Word files.
- Drop several Word files or a folder on the page, or click Add files or Add a folder. Files that aren't Word documents are left out.
- Put them in a new folder is ticked, so the new docs go together in a folder (named after the folder you chose, or with today's date). Untick it to put the docs straight into the Location you choose.
- Click Import.
Each file becomes its own doc, named after the file. You can import up to 100 files at a time.
Import into the doc you're in
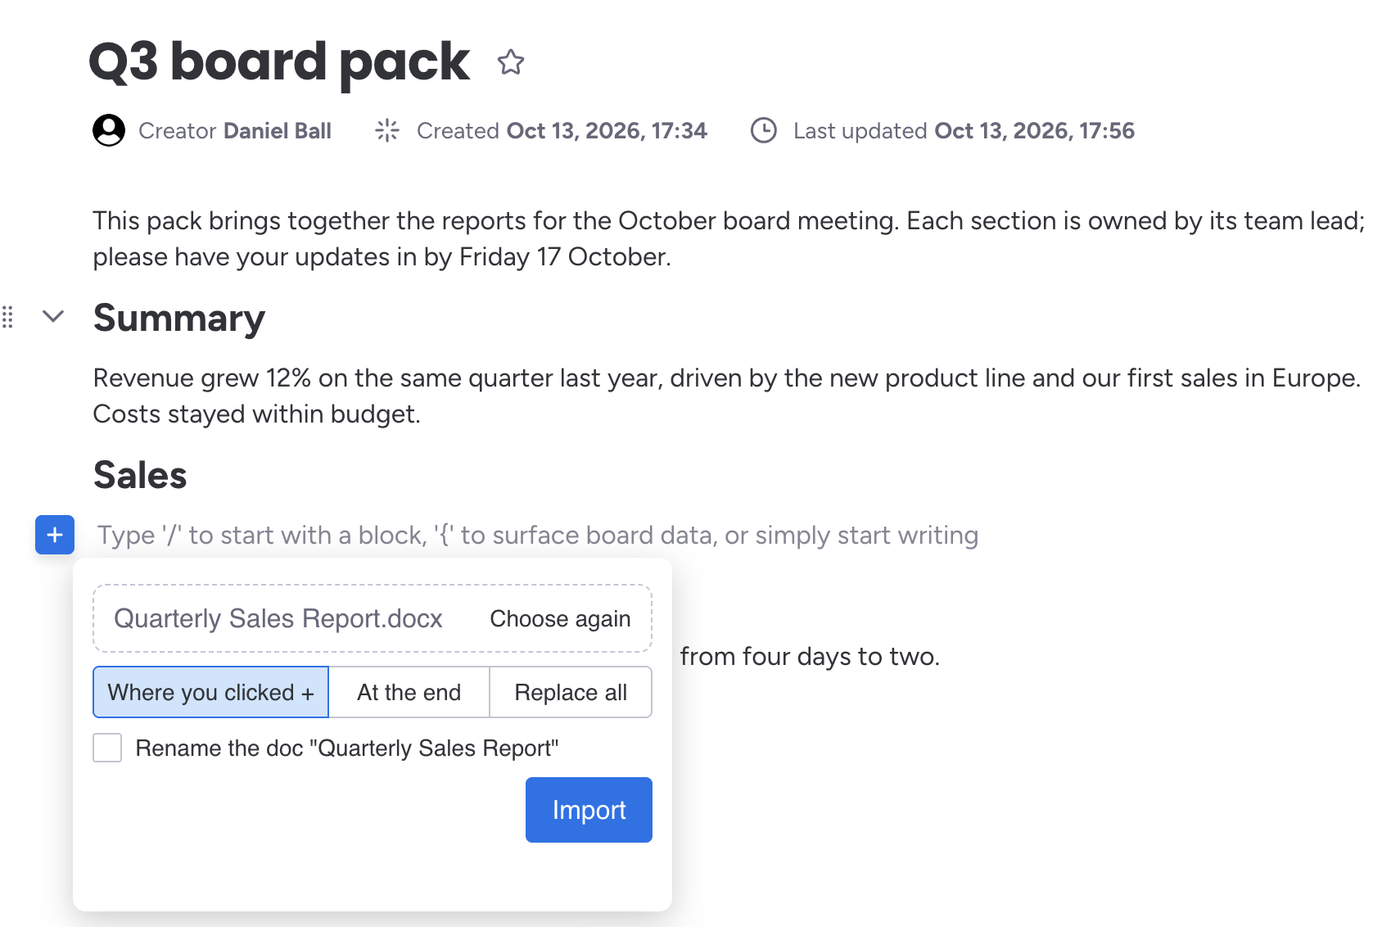
- In a doc, click + on a line (or the puzzle-piece icon in the toolbar) and choose Word Import.
- Choose the Word file.
- Under Where the Word file goes, choose:
- Where you clicked +: on the line you clicked.
- At the end: after everything already in the doc.
- Replace all: everything in the doc is replaced by the Word file.
- Tick Give the doc the Word file's name to rename the doc too.
- Click Import.
Import Word files on a board
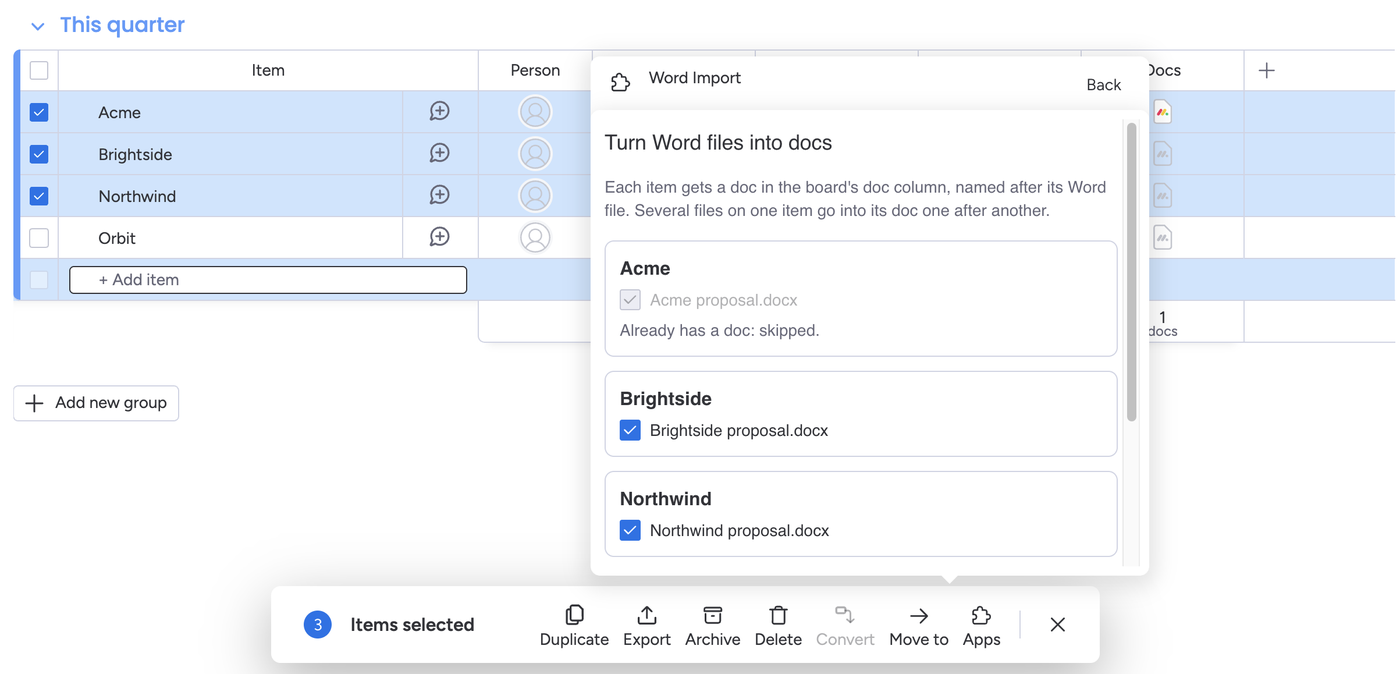
Word Import can turn the Word files in a board's Files columns into docs, one per item, in the board's Doc column. If the board has no Doc column, Word Import adds one called "Docs".
Start from any of these:
- Several items: select them, then choose Word Import from the apps in the bar at the bottom of the board.
- One item: open the item's menu and choose Word Import.
- A whole group: open the group's menu and choose Word Import.
Word Import lists the items and their Word files. Untick any you don't want. If an item already has a doc, choose what happens to it:
- Skip it, and leave its doc as it is (the default)
- Replace what's in its doc
- Add to the end of its doc
A new doc is named after the Word file. If an item has several Word files, they all go into one doc, each under its file name. You can import up to 100 items at a time.
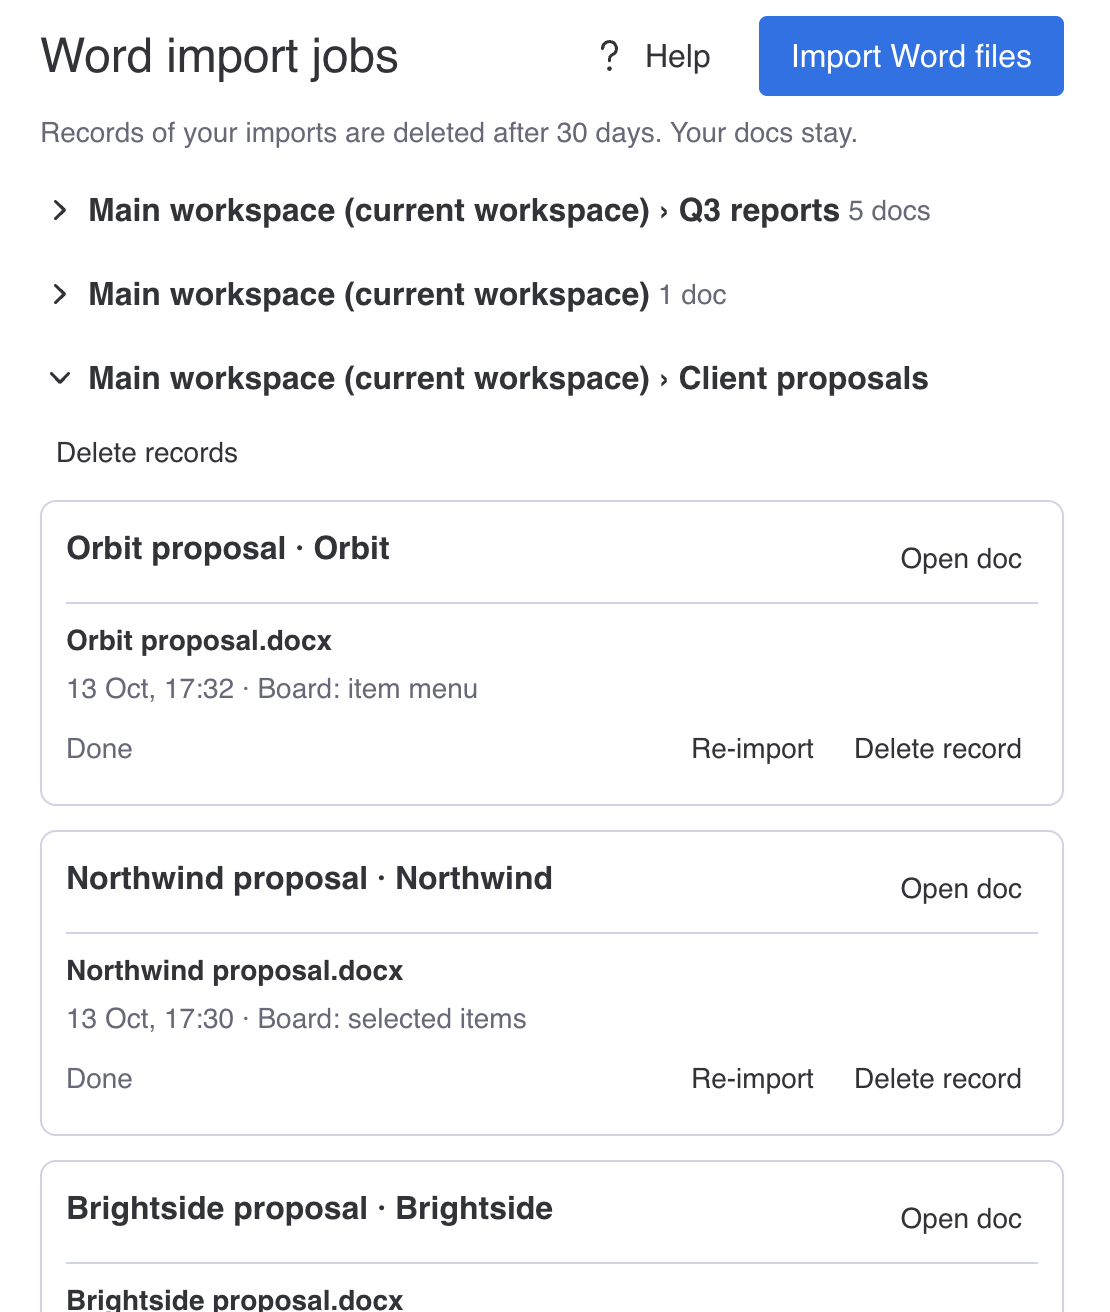
The Word import jobs page
Open Word Import under Workspace apps to see every import you've made in the last 30 days, grouped by where the docs are.
- Open the doc in monday.
- Re-import brings in a newer version of the Word file, into the same doc: overwrite what the earlier import wrote, or add to the end. For a board import, the file is read from the item again.
- Delete record, Delete records (for a group) and Delete all remove imports from the list. Your docs stay.
Records are deleted after 30 days.
What's imported
- Headings, titles, subtitles, quotes and code
- Bold, italic, underline, strikethrough, text colours and highlights
- Bulleted, numbered and checklists, with their indentation
- Tables, with merged cells and header rows. monday tables hold up to 25 rows and 10 columns, so a bigger table is split into several, with its header rows repeated. A table inside a table becomes rows of text.
- Links
- Footnotes and endnotes, gathered at the end of the doc
- Text in text boxes and shapes, after the paragraph they're attached to
- Equations, as text
- Tracked changes, as the document will read once they're accepted
Not imported yet: pictures, comments, headers and footers, superscript and subscript (monday docs don't have them) and links within the document (their text is kept).
Limits
- A doc in monday can only hold so much. Very long Word files (thousands of paragraphs, or many big tables) are refused with a message asking you to split them into smaller files. Nothing is left half-imported.
- Word files can be up to 20 MB once pictures are left out (they aren't imported, so they don't count). Files on boards can be up to 100 MB.
- Old Word files (.doc) and password-protected files can't be imported. Open them in Word and save them as a .docx without a password first.
If something goes wrong
If an import fails, Word Import removes anything it wrote, so you're never left with half a document, and the jobs page says what happened and what to do next.
If you need help, email info@westsmith.co.uk.
Where's the old Word Import shortcut?
Earlier versions of Word Import opened from a shortcut added to your workspace. It's been replaced: open Word Import under Workspace apps in your workspace's left pane instead. If you still have the old shortcut, it shows "Could not load this app" and you can remove it.